Nitrogen Industrial Grade (3.0) is the quiet achiever in a welding shop: it won’t join the arc, won’t react with your metals, and won’t fuel a fire. That’s precisely the point. Because nitrogen is inert and non-flammable, it’s ideal for purging lines and vessels, pressure/leak testing, pneumatic tool drive, laser assist gas (selected cases), and shielding/cover-gas support where you want to exclude oxygen and moisture without adding reactive chemistry. As a compressed gas in cylinders, it must be handled as a gas under pressure with standard NZ storage and transport controls.
This guide turns “we’ve always done it this way” into repeatable, documentable practice. You’ll get step-by-step methods for purge setups, pressure tests, leak checks, and cover-gas support—plus checklists, troubleshooting, and FAQs you can drop into your QA packs.
Where Industrial Nitrogen 3.0 Earns Its Keep
Purging & Inerting pipework before hot work
Before welding, brazing or heating, your first job is to push ambient air (and the oxygen it contains) out of lines. A dry nitrogen sweep reduces internal oxidation and discolouration inside stainless and copper systems, limits scale in carbon steel, and creates a cleaner interior surface for service.
Why it matters: Oxygen and humidity are the culprits behind internal heat tint, oxide films and scale. That contamination can seed corrosion, contaminate fluids, or compromise hygienic systems.
What 3.0 delivers: Sufficiently low O₂ and H₂O to protect typical workshop fabrications when your purge method, flow and sealing are dialled in. You don’t always need ultra-high purity—process discipline often moves the needle more than “another nine”.
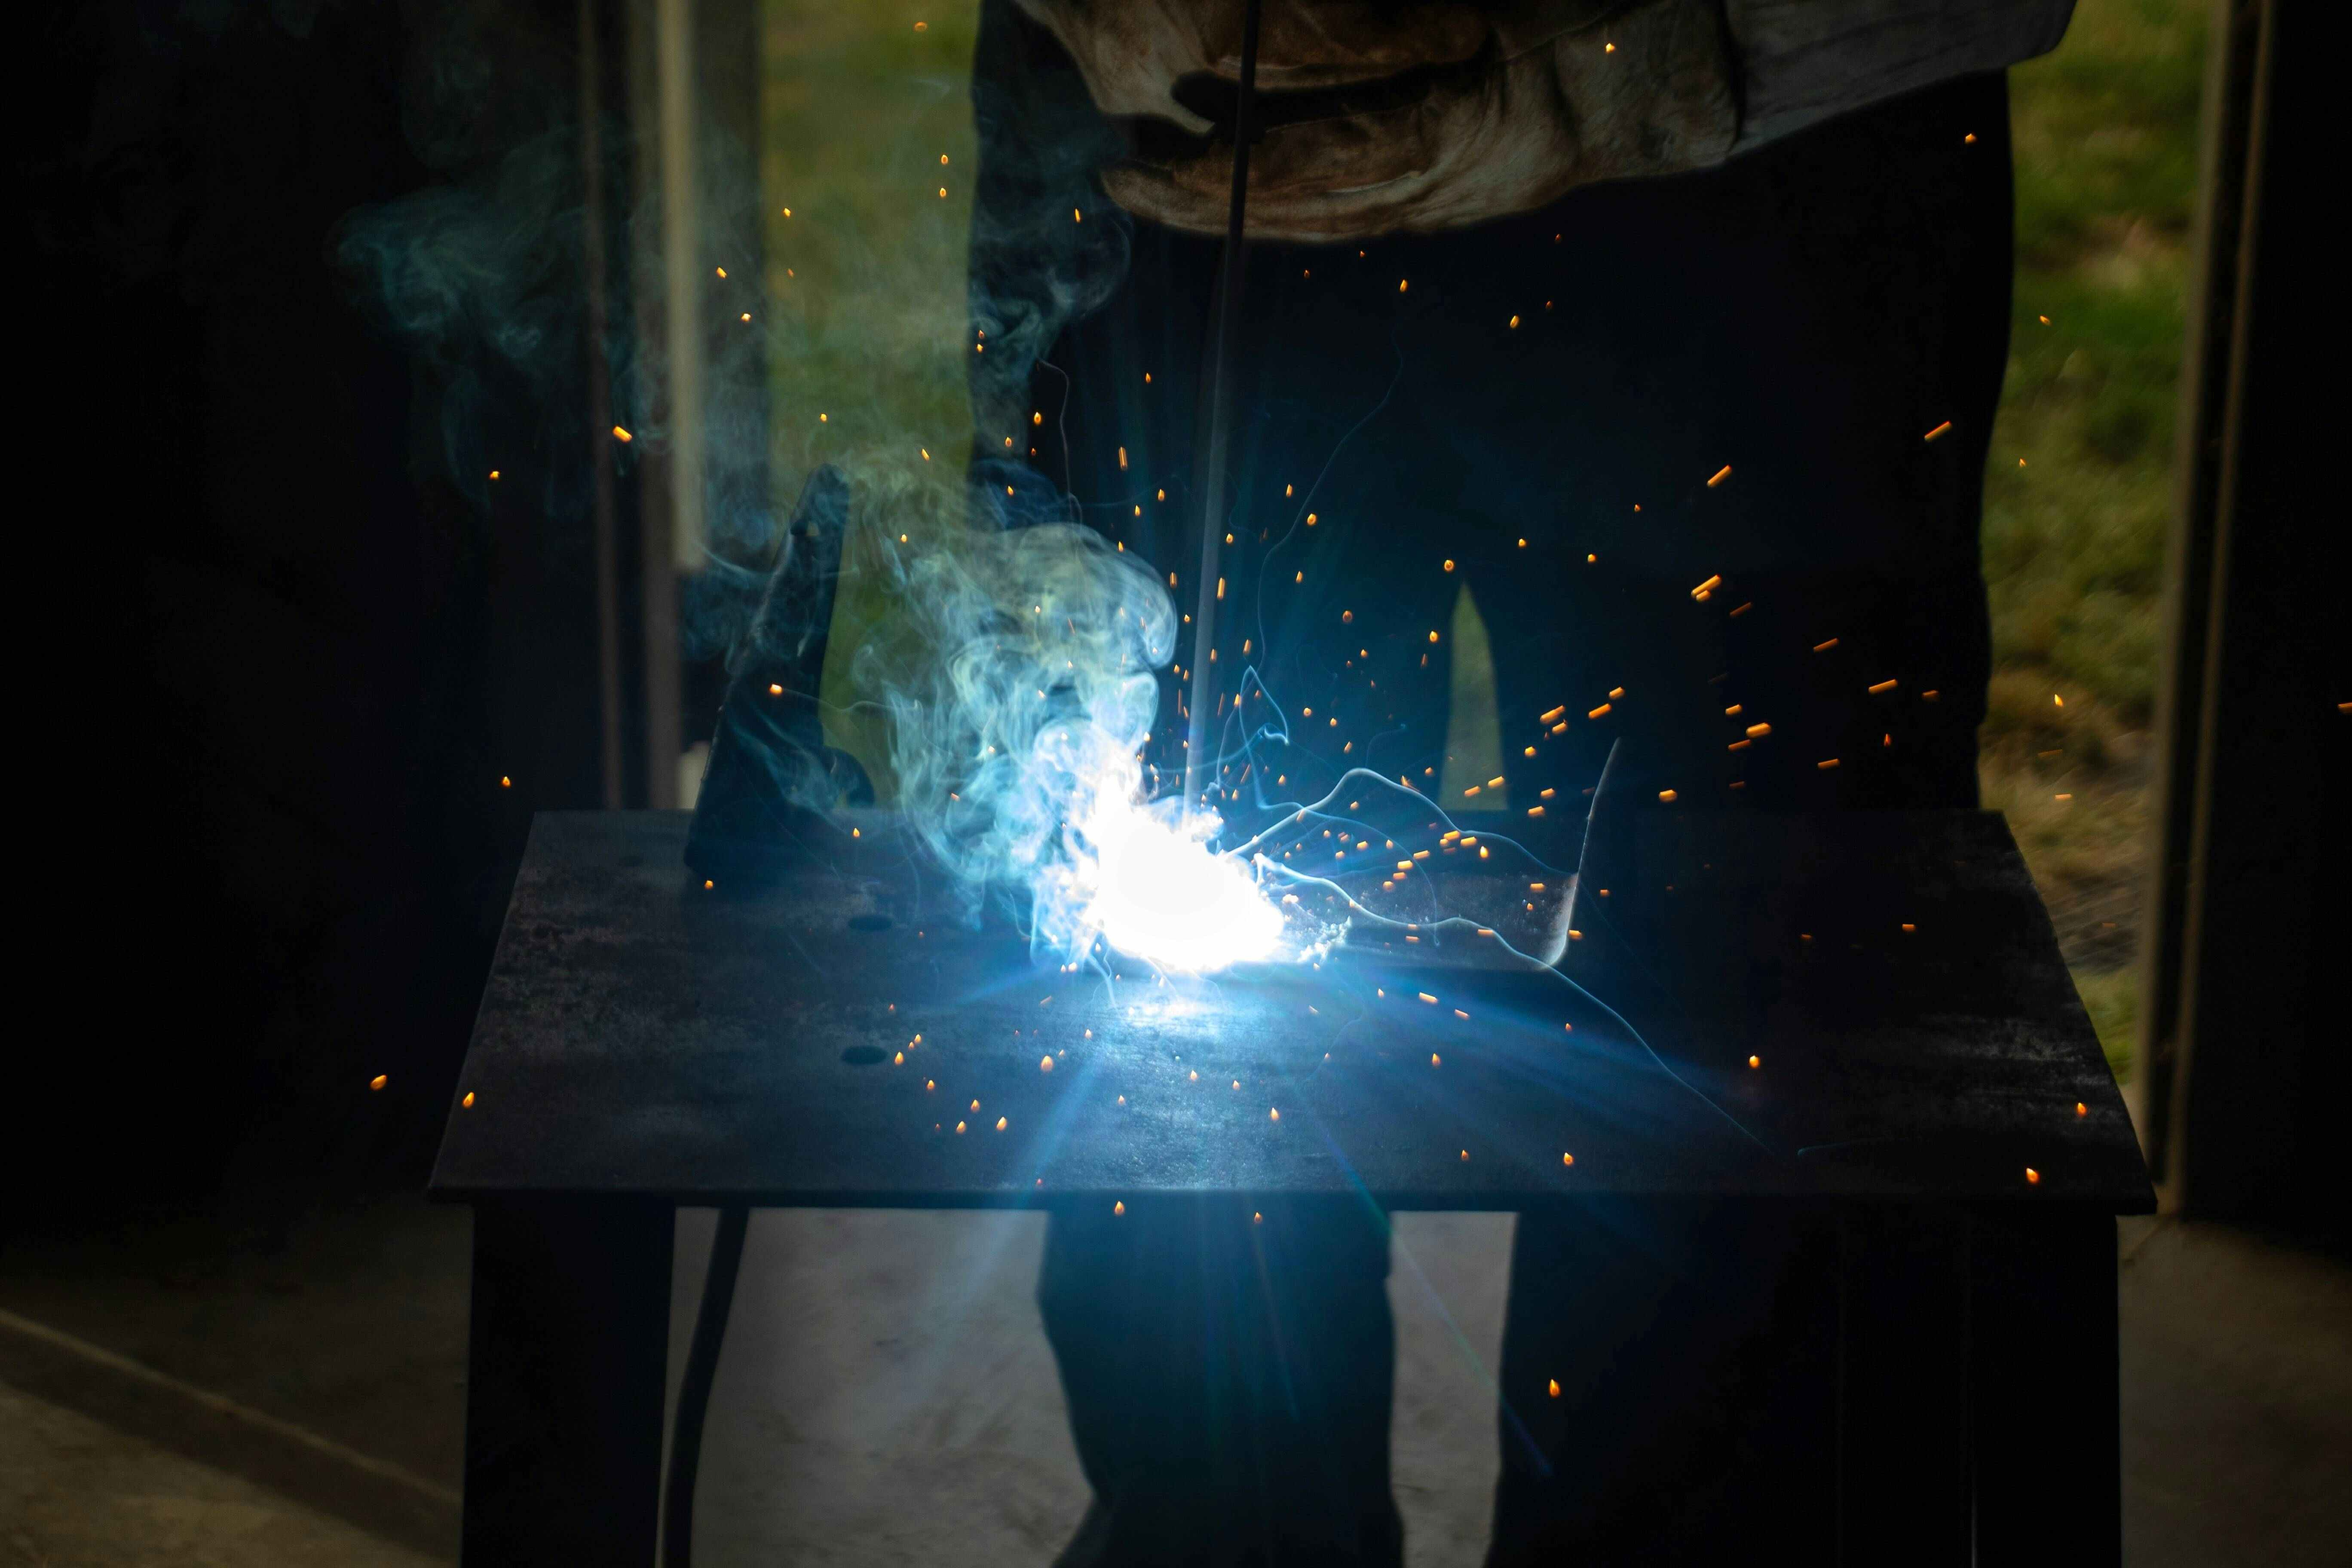
Pressure & Leak Testing with confidence
Whether you’re validating a welded spool, an HVAC line set or a process loop, nitrogen is the safest shop-floor pressure medium you can choose. It’s non-flammable and, when applied with calibrated gauges and correct regulators, it gives repeatable, documentable results for QA sign-off.
Why nitrogen (not air or oxygen): Shop air adds moisture; oxygen is combustion-supporting and never appropriate for pressure tests. Dry nitrogen avoids both hazards.
Quality win: Consistent tests with logged pressures, temperatures and hold times reduce arguments at hand-over and make audits faster.
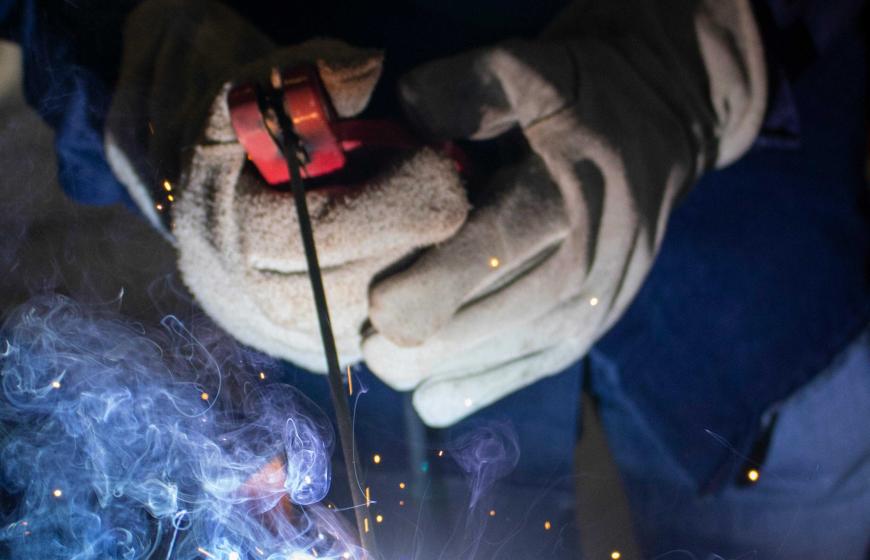
Shielding and cover-gas support
For certain jobs—backing gas on stainless, cover gas during cool-down, or laser assist for specific materials—the goal is the same: exclude oxygen so reactive surfaces remain bright and clean.
Backing/cover gas: Holds oxygen at bay while the metal cools through reactive temperature ranges.
Laser assist (selected substrates): A non-reactive assist gas can avoid oxidation or nitriding artefacts on some materials; always confirm against your process spec.
Safety note: Nitrogen is an asphyxiant. In poorly ventilated spaces nitrogen can displace oxygen without odour or warning. Use ventilation, oxygen monitors where appropriate, and confined-space controls for pits, basements and plant rooms.
Setups That Save Rework
Choose the right regulator & fittings
Dedicated nitrogen regulator: Use a pressure-rated regulator for nitrogen service with the correct inlet/outlet threads for your cylinder and instruments.
Don’t cross-service: Avoid using oxygen-service regulators/hoses on nitrogen and vice versa; keep dedicated, labelled kits to prevent contamination or mix-ups.
Clean hardware: Keep seat faces burr-free, threads lightly lubricated only where specified, and dust caps on everything when idle.
Quick checklist
Regulator matches cylinder connection and target pressure/flow
Hoses rated for pressure; no cracks, blistering or oil residues
Gauges in calibration; zero checked before test
Spare O-rings/seals on hand; correct spanners to avoid galling
Purge method (sweep vs displacement)
Sweep purge: Steady, modest nitrogen flow flushes air ahead of the weld. It’s simple, quick, and suits short runs, open geometries and spot work.
Orient flow from low to high points to push air out, not mix it in.
Start slow to avoid turbulence (which drags air back in).
Vent at the farthest point—don’t cap both ends.
Hold a small flow during the weld and early cool-down.
Displacement purge: Seal and fill to a target pressure, then vent and repeat until O₂ is below your SOP threshold. Best for complex geometries and larger volumes where you can’t guarantee laminar sweep.
Seal leaks (purge dams, tape, bladders, caps).
Fill-and-vent cycles: 2–5 exchanges are common; confirm with an O₂ meter at the outlet.
Flow control: Use a needle valve/flowmeter for repeatability; too fast = mixing, not displacement.
Which to choose?
Use sweep for short, straight, simple.
Use displacement for big or complex volumes—or when you must prove a specific oxygen endpoint in ppm.
Leak-testing discipline
Stabilise temperature before readings; gases expand/contract with temperature, which skews results.
Nitrogen only for pressure tests—never compressed oxygen.
Soap solution or electronic detectors on every joint and suspect location.
Record everything: initial/hold pressures, ambient temperature, duration, remedy actions.
Practical Procedures (Copy/Paste)
A) Simple pipe purge & weld (sweep method)
Inspect & prep: Brush out debris; wipe with solvent where permitted.
Install purge points: Nitrogen in at the lowest point, vent at the highest/farthest.
Flow set-up: Fit a flowmeter and needle valve; start low (just enough to refresh the volume every few minutes).
Purge: Blow for several volume exchanges (rule-of-thumb: 3–5) or until O₂ meets your SOP threshold.
Weld: Maintain a small cover flow across the joint; avoid drafts.
Cool-down: Keep cover gas until the joint passes out of reactive temperatures.
Shut down: Close cylinder; vent lines; cap outlets.
QA: Record flow, time, O₂ if measured, and visual inspection of internal surface (borescope if required).
B) Displacement purge for a vessel
Seal & isolate: Cap nozzles; fit a controlled inlet and vent.
Fill-and-vent cycles: Pressurise with nitrogen to the SOP pressure, vent to near-ambient, repeat.
Measure: Sample O₂ at the vent—weld only once below your ppm/% target.
Post-work: Maintain low cover gas as the metal cools; then vent to safe atmosphere.
C) Pressure test & leak check (HVAC line set or spool)
Pre-check: Verify ratings (pipe, valves, gauges).
Regulator & gauge: Fit a dedicated nitrogen regulator and a calibrated gauge.
Test pressure: Increase slowly to the specified pressure; isolate the circuit.
Temperature stabilisation: Wait for thermal equilibrium; then start your hold timer.
Leak check: Apply soapy solution to joints; investigate bubbles.
Document: Record pressure, ambient temperature, time, pass/fail, and any repair notes.
Productivity Wins for Fabricators & Field Teams
Cleaner internals = less downstream fouling/corrosion: Every oxide film you prevent is one less cause of pitting, contamination or flow disturbance.
Repeatable pressure tests = fewer retests: Clear, consistent pass/fail criteria reduce arguments and callbacks.
Safer hot-work prep vs combustible gases: Nitrogen is non-flammable and compressed—respect the energy, but remove the fuel/oxidiser risk.
Lower consumables spend: Less pickling, brushing and polishing; fewer false starts on welds.
Faster sign-offs: Auditors love logs—flows, times, pressures, O₂ readings.
Choosing Supply: Cylinder, Pack or Bulk
Single cylinders: Mobile service work, low-to-moderate consumption; easiest to move around sites.
Packs/bundles: Reduce change-outs, stabilise supply pressure for longer runs—good for fabrication bays and commissioning teams.
Bulk/micro-bulk: High-demand or fixed-plant environments with predictable usage.
Standardise fittings across teams, keep spares (O-rings, stems, glands) and store regulators in clean, dry cases. Consider colour-coding hoses and regs by gas service to eliminate cross-up.
Measurement: How You Know the Purge Worked
O₂ meters (from % down to ppm ranges) are the gold standard for oxygen-sensitive jobs. Place the probe at high points or dead-ends where air hides.
Dew point/moisture: For moisture-critical systems, confirm with a dew-point measurement or a vacuum/micron log after nitrogen sweeps.
Documentation: Time, location, instrument serial, operator initials—small steps that save hours later.
Troubleshooting (Root Causes & Fixes)
Internal discolouration after weld
Likely cause: Turbulent purge or leaks around purge dams.
Fix: Slow the flow; improve sealing; relocate vent; confirm O₂ endpoint before lighting up.
Pressure test won’t stabilise
Likely cause: Temperature drift or micro-leaks.
Fix: Allow temperature to equilibrate; re-soap suspect joints; check Schrader cores/valve stems.
Moisture problems on commissioning
Likely cause: Shop air used, humid day, or contaminated hoses.
Fix: Nitrogen purges followed by good vacuum practice; swap hoses/manifold; re-test until dew point/microns hit target.
High gas consumption
Likely cause: Leaky seals, open vents, or “more flow is better” mindset.
Fix: Seal properly; reduce flow to laminar; choose displacement when geometry suits.
Safety, Storage & Transport (NZ)
Classification: Gas under pressure, non-flammable. H280: contains gas under pressure; may explode if heated.
Asphyxiation hazard: Effects scale with oxygen displacement; symptoms can occur without warning. Provide ventilation and monitor oxygen in enclosed spaces.
Storage: Cylinders upright, restrained, dry and well-ventilated; away from heat sources and traffic; typically below 65 °C surface temperature. Keep valve guards on when not connected.
Handling: Don’t drag, drop or roll cylinders. Use a cylinder trolley. Open valves slowly; stand to the side of the regulator; bleed down after use.
Transport (typical NZ practice): UN 1066 NITROGEN, COMPRESSED, Class 2.2 (non-flammable, non-toxic). Secure cylinders upright, ventilate the vehicle compartment, valves closed and capped. Follow local road rules for dangerous goods carriage where applicable.
Emergency basics: Know shut-off valves, muster points and who calls it in. If oxygen depletion is suspected, leave the area, ventilate, and do not enter without monitoring and controls.
Cost & ROI: Why 3.0 Still Makes Sense

You don’t always need 4.0 or 5.0. For general workshop purging, pressure tests and many cover-gas tasks, Industrial Nitrogen 3.0 hits the sweet spot: clean enough to protect metals and QA, cost-effective for day-in/day-out work, and available everywhere. The biggest gains usually come from:
Method selection (sweep vs displacement) that suits the geometry
Flow discipline (laminar beats blasting)
Clean, dedicated hardware (no oil, no dust)
Measurement & logging (prove the endpoint, stop guessing)
Optimise those first. If your job still demands lower O₂/H₂O at point-of-use, that’s when you justify a step-up purity.
Field Checklists (Ready to Print)
Pipe/Purge for Hot Work
Lines cleaned; purge points planned (low in, high out)
Flowmeter + needle valve fitted; low laminar flow set
Seals/dams installed; leak-tight
O₂ measured (if required) and logged before welding
Cover flow maintained through cool-down
Pressure Test/Leak Check
Regulator & gauge rated and calibrated
Test pressure confirmed in WPS/SOP; increase slowly
Temperature stabilised before hold time
Soap or electronic leak test on all joints
Pass/fail recorded with time, temp, operator initials
General Safety
Cylinders are restrained; guards on when moving/storing
No dragging/rolling; correct trolley used
Ventilation adequate; O₂ monitor where needed
Lines bled; caps on outlets after use
FAQs
-
Is industrial nitrogen flammable?
No. Nitrogen is non-flammable and inert; the main risks are pressure energy and asphyxiation in confined or poorly ventilated spaces.
-
Can I use nitrogen as a backing gas for stainless?
Yes—its job is to exclude oxygen. Verify residual O₂ meets your WPS/SOP threshold before striking and keep cover gas through cool-down.
-
What pressure should I test to?
Follow your WPS, equipment rating, or relevant code/manufacturer specification (e.g., HVAC component specs). Always use a nitrogen regulator sized for the job and stabilise the temperature before readings.
-
Why not just use shop air for pressure checks?
Compressed air adds moisture (and oil if filtration is poor). That undermines dry-down and can create corrosion risks. Use dry nitrogen.
-
When would I choose a higher purity than 3.0?
When your endpoint measurement (O₂ ppm or dew point) still isn’t met with good technique, or when instrumentation/pharma SOPs require it. For most workshop purging and pressure tests, 3.0 is fit-for-purpose.
-
Do I need special hoses and seals?
Use pressure-rated hoses, keep them oil-free, and replace if cracked or blistered. Use compatible seals and keep spares. Cap everything when stored.
Wrap-Up
Industrial Nitrogen 3.0 is a workshop essential for purging, pressure tests, leak checks and cover-gas support. Treat it like the quality tool it is—dedicated, clean hardware; thoughtful purge methods; measured endpoints; disciplined safety—and you’ll see fewer defects, faster sign-offs and safer jobs. Suppose a specific task demands tighter oxygen/moisture limits. In that case, you can step up to higher purity grades—but for most NZ fabrication and commissioning work, getting the method right with 3.0 will deliver the biggest wins.